The shadow on a cheek finally looks soft, but now the edge of the nose has disappeared with it. Choosing Procreate blending brushes starts with deciding which edges should move and which details need to stay readable.
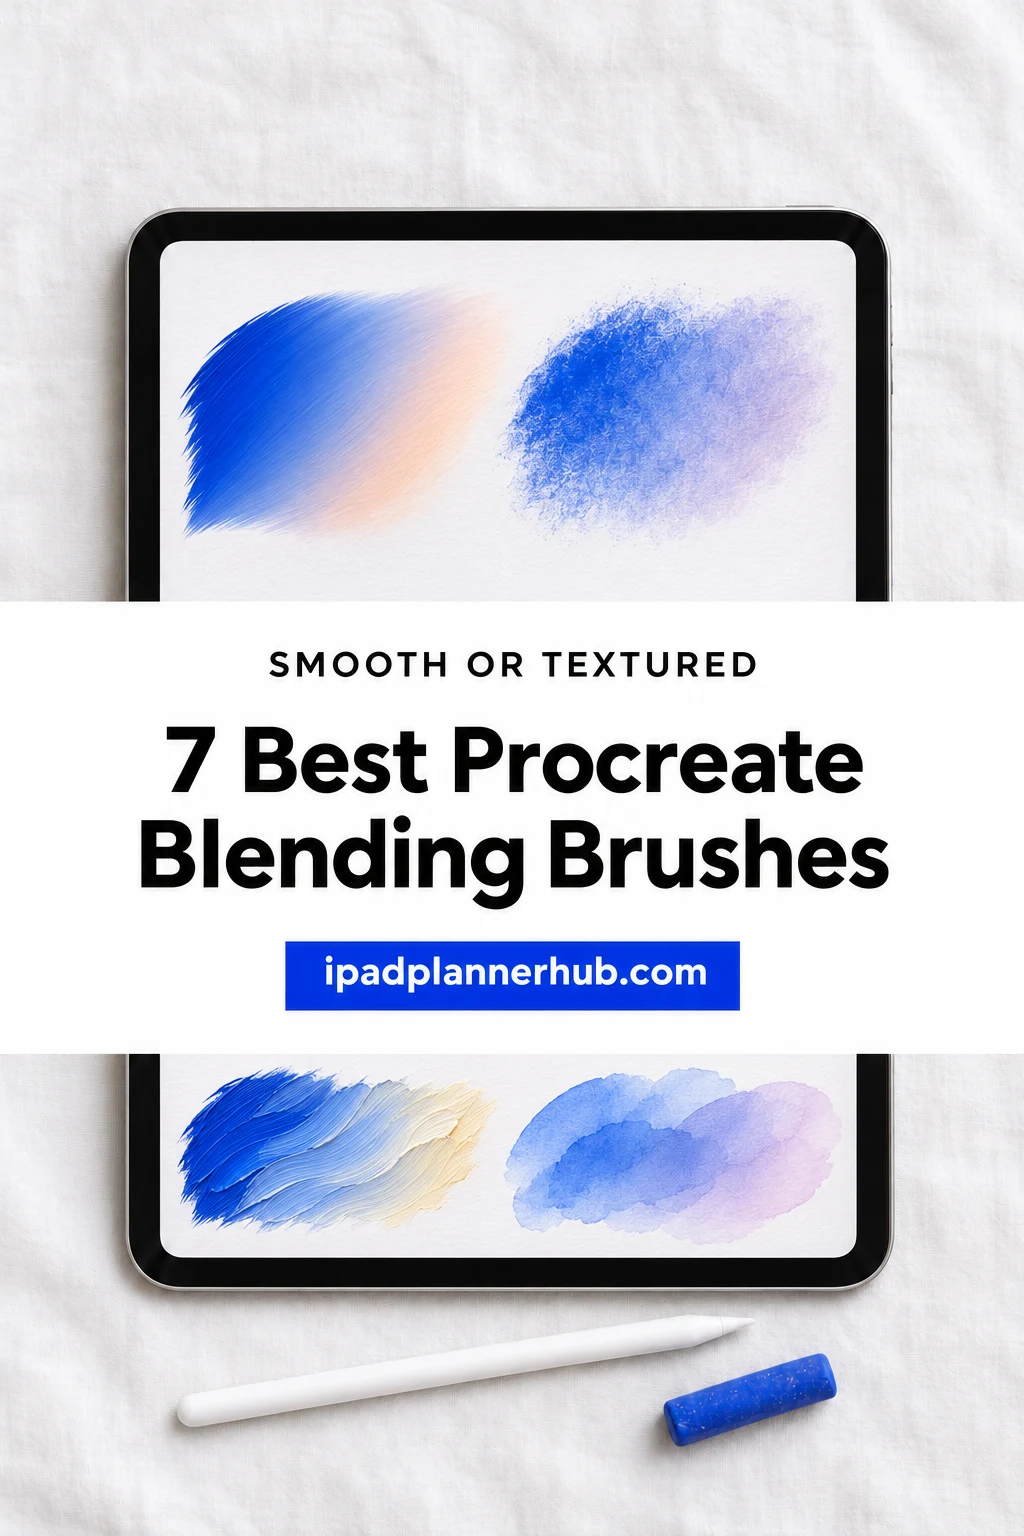
I selected seven dedicated blending and smudge collections with different edge finishes. Some favor a gentle transition; others leave a rubbed, bristly or wash-like boundary. My comparisons come from the product descriptions and full preview galleries, not hands-on testing of the paid files.
Procreate Blending Brushes for Different Edges
Procreate mixing brushes offer different kinds of edges. A larger collection is not automatically a better blending purchase than one with six smudgers. The cards separate the actual blending component from paper brushes, painting tools and other extras. Start with the missing mark in your artwork, then compare the contents.
TL;DR: Seven dedicated blending and smudge packs. Start with Advanced Blenders for named smooth, smeary and FX families; EasyProcreate for 20 blenders plus paper extras; Fingerprint Smudge for a small rubbed-sketch set. Compare the finish you need rather than the largest brush total.
Quick Picks
- Best for smooth, smeary and FX choices: Advanced Blenders – Procreate Brushes
- Best for blenders with paper extras: Procreate Blending Brushes
- Best for a large smudge library: Procreate Blend and Smudge Brushes X 32
- Best for a compact mixed-texture set: Procreate Simple Blend Brushes
- Best for finger-like sketch smudging: Fingerprint Smudge Brushes Procreate X 6
- Best for oil-style blending: Procreate Skin Blending Brushes
- Advanced Blenders – Procreate Brushes – Best for smooth, smeary and FX choices
- Procreate Blending Brushes – Best for blenders with paper extras
- Procreate Blend and Smudge Brushes X 32 – Best for a large smudge library
- Procreate Simple Blend Brushes – Best for a compact mixed-texture set
- Fingerprint Smudge Brushes Procreate X 6 – Best for finger-like sketch smudging
- Procreate Skin Blending Brushes – Best for oil-style blending
- Blending Brush Procreate – Best for watercolor wash blending
Best for smooth, smeary and FX choices
1. Advanced Blenders – Procreate Brushes
Format: .brushset
Best for: switching between restrained transitions and expressive texture. Designed by PixelBrush Supply.
- 16 blending brushes in .brushset format
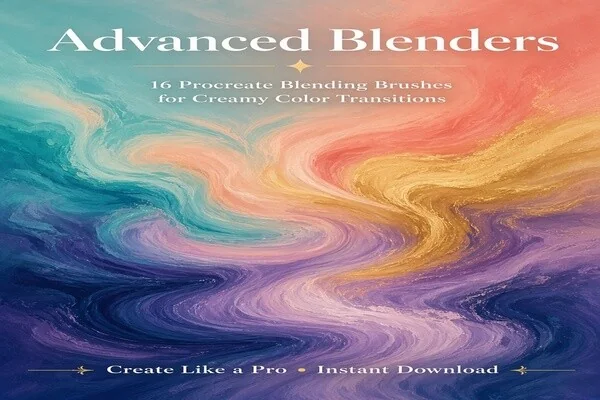
- Four Smooth, six Smeary and six FX blenders named in the listing
- Examples include H2O, Whirlpool, Oily Bristles, Frost and Snowflakes
- Seller describes Apple Pencil pressure and tilt response
The three named families make this a useful starting point for comparing finishes. Smooth tools suit restrained transitions, while Smeary and FX tools offer deliberately broken or expressive marks. The gallery pairs a flowing color example with brush-library views. Use the listed 16-brush contents as the purchase guide; other tools visible in the library are not advertised as extras.
Best for blenders with paper extras
2. Procreate Blending Brushes
Best for: combining a broad blending selection with separate surface tools. Designed by EasyProcreate.
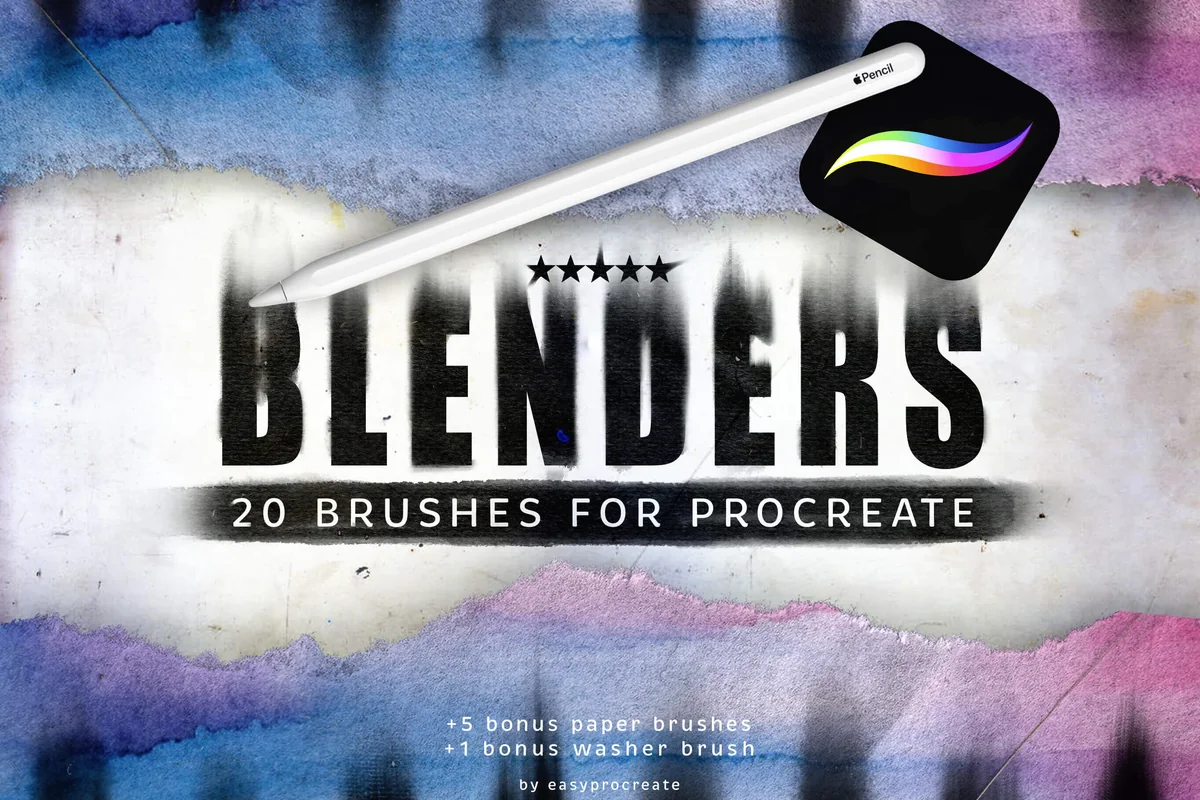
- 20 blending brushes
- 5 bonus paper brushes and 1 washer brush listed separately
- Gallery shows smooth, streaked and grainy purple-to-blue blends
- Illustrated lotus and portrait examples accompany the swatch sheets
EasyProcreate gives the clearest side-by-side look at how varied transitions can be within one set. I like the sample sheets more than the finished paintings for choosing a texture: some marks soften evenly, while others retain a broken edge. The paper brushes are background tools, not five more blenders. The washer is an additional brush, so keep the main blending count at 20.
Best for a large smudge library
3. Procreate Blend and Smudge Brushes X 32
Best for: exploring varied blend marks in a dedicated collection. Designed by Mini Trezò Design.
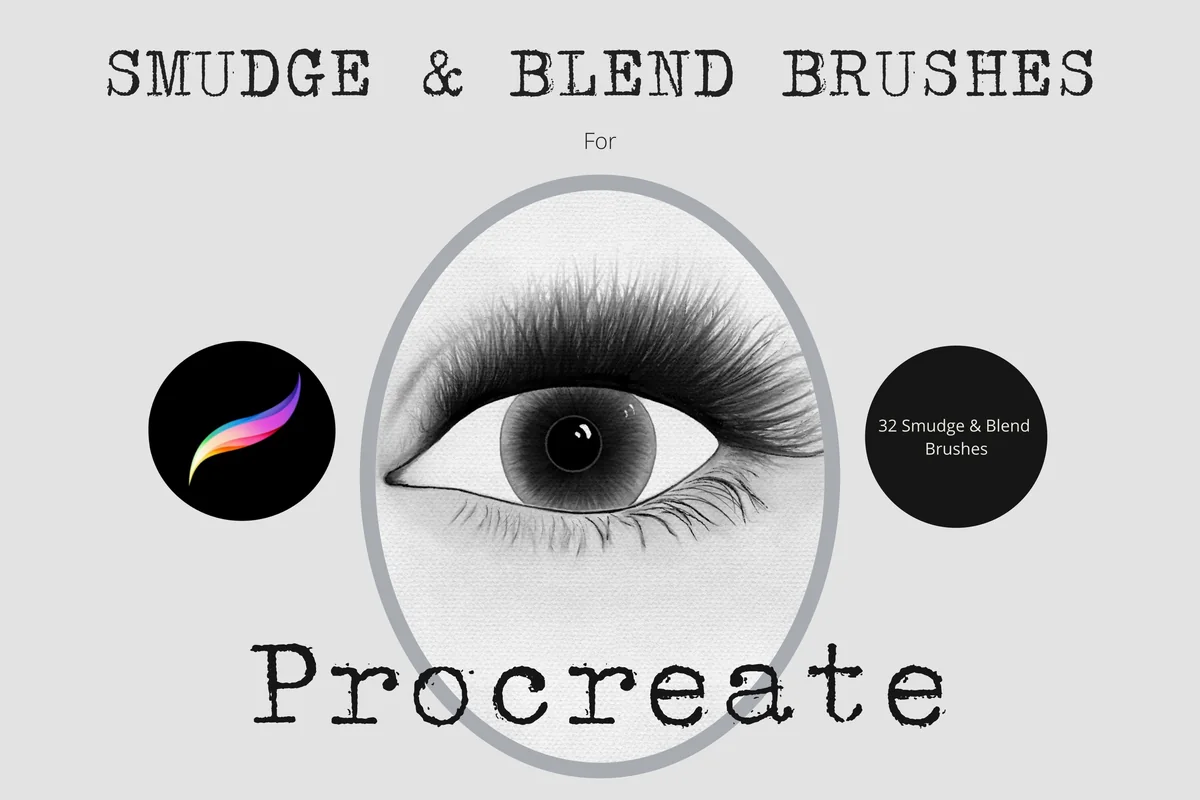
- 32 individual digital Procreate brushes
- Seller describes adjustable brush size and blend strength
- Gallery includes an eye illustration and two mixed-mark sample compositions
- Listing cautions that some brushes have high dilution settings when used for painting
This is the largest dedicated blending pack here, rather than the largest overall painting kit. The dark sample compositions show a mixture of soft haze and rougher dragged marks, although they do not label all 32 tools individually. That makes it an exploration choice rather than my pick for a very specific named texture. Check the seller's dilution note if you also intend to paint with these brushes.
Best for a compact mixed-texture set
4. Procreate Simple Blend Brushes
Best for: trying several blending textures without a large library. Designed by Mini Trezò Design.
- 9 individual digital Procreate brushes
- Description names textured, fingerprint and pencil styles
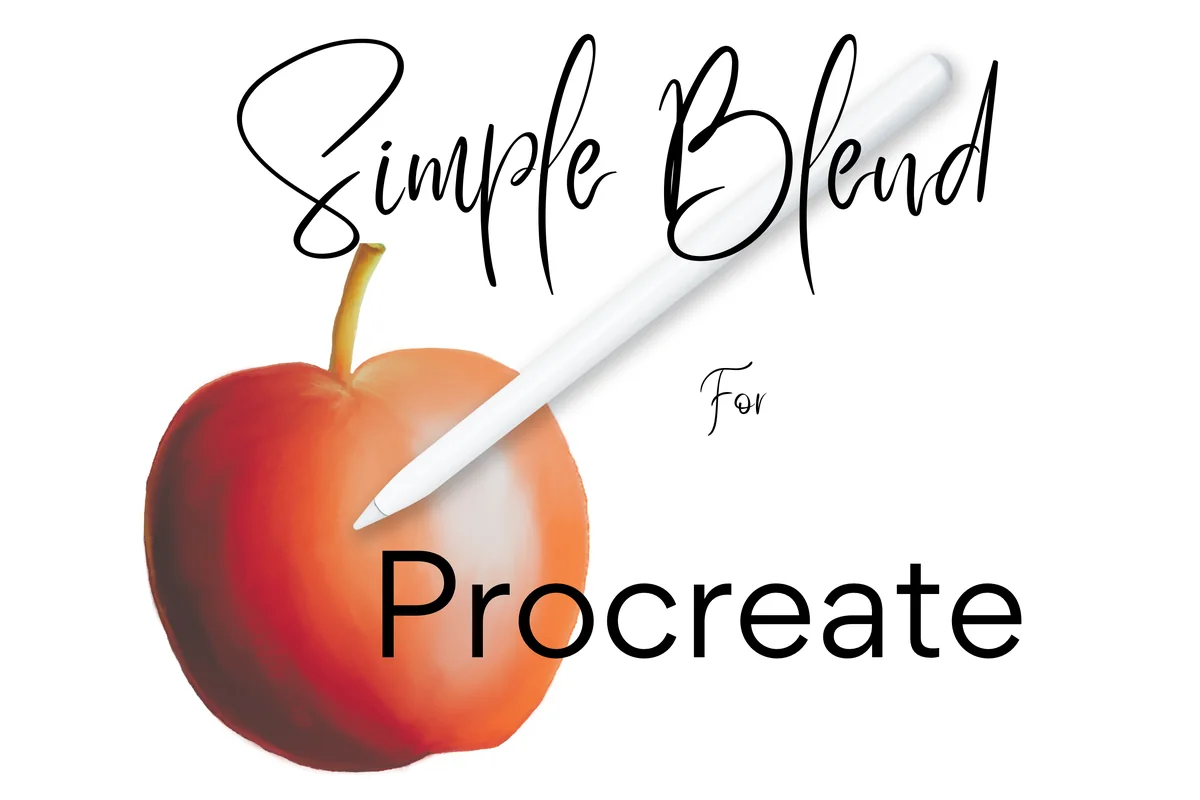
- Gallery shows a shaded apple and a red mixed-mark sample
- Seller notes size, opacity and painting-dilution adjustments
Nine tools make a manageable mixed-texture collection. The shaded apple suggests a practical shading role, while the red sample shows soft and spiky edges. Compare this with the 32-brush set if you prefer a smaller library. Both come from Mini Trezò Design, and their exact file overlap is not stated, so treat them as alternatives rather than an automatic pair.
Best for finger-like sketch smudging
5. Fingerprint Smudge Brushes Procreate X 6
Best for: softening a drawn mark while retaining a handmade character. Designed by Mini Trezò Design.
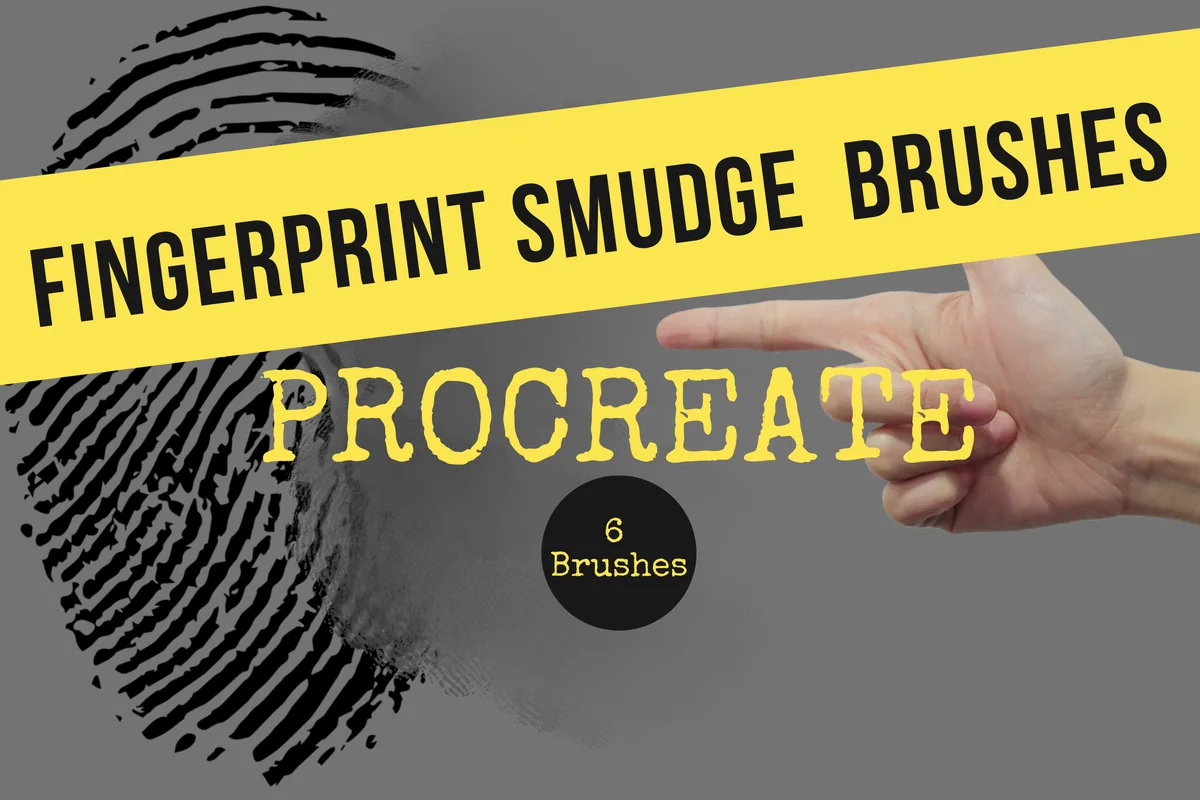
- 6 individual Procreate smudge and blending brushes
- Seller describes a finger-smudging effect for sketching
- Gallery shows six separate black and gray smudge samples
- An eye drawing illustrates a finished sketch application
The six-swatch sheet shows cloudy, rubbed edges with different amounts of darker material left inside. That makes this the most focused sketch-smudging choice in the list. The name refers to the action of a finger, rather than a collection of fingerprint stamps. Choose it for softening sketch marks while leaving some drawn character visible.
Best for oil-style blending
6. Procreate Skin Blending Brushes
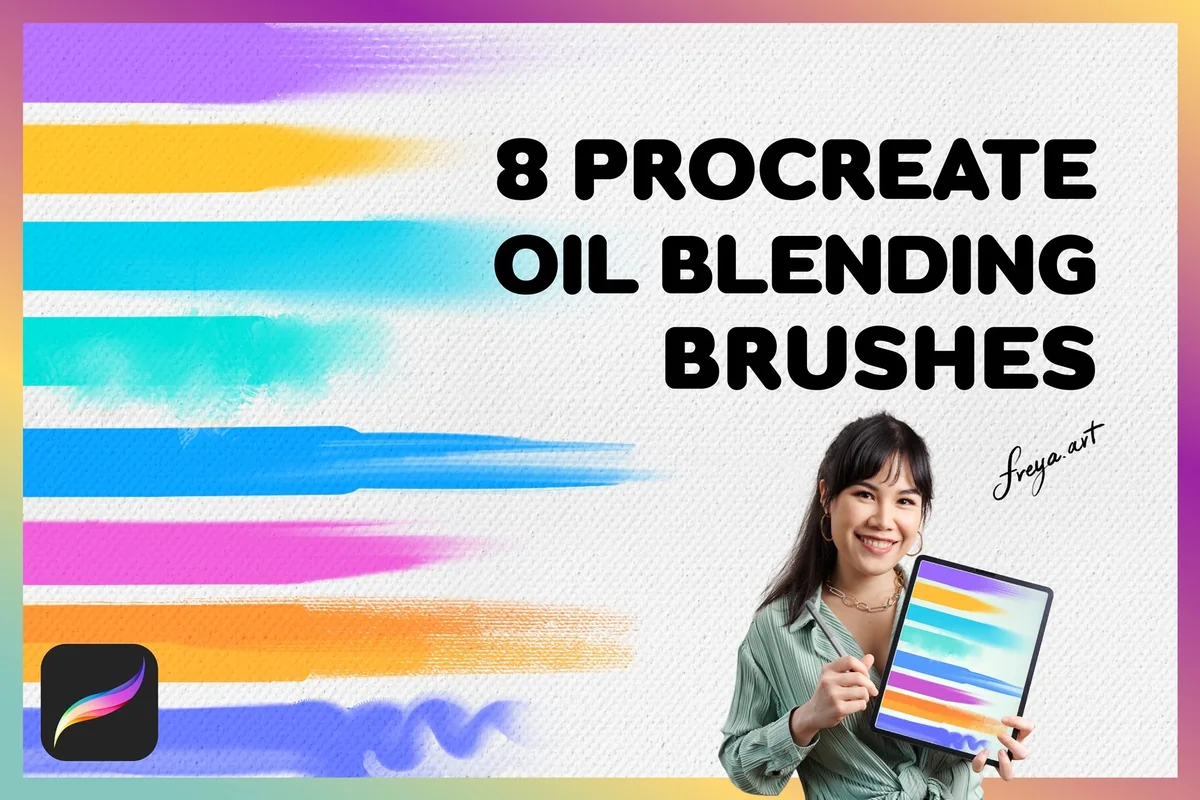
Best for: pulling color with visible painterly edges. Designed by FreyaArtProcreate.
- 8 oil blender brushes and 1 canvas texture in the description
- All three previews identify the pack as oil blending
- Numbered samples show squared, rounded and bristly transitions
- Seller specifies Procreate for iPad and recommends Apple Pencil
Despite the storefront name Skin Blending, the description and all three previews identify eight oil blenders. The numbered swatches range from rounded clouds of color to squared and bristly edges. This is an oil-style choice, with a canvas texture extra; the listing does not establish a specialist skin-blending role.
Best for watercolor wash blending
7. Blending Brush Procreate
Best for: softening painted wash edges with a small dedicated set. Designed by FreyaArtProcreate.
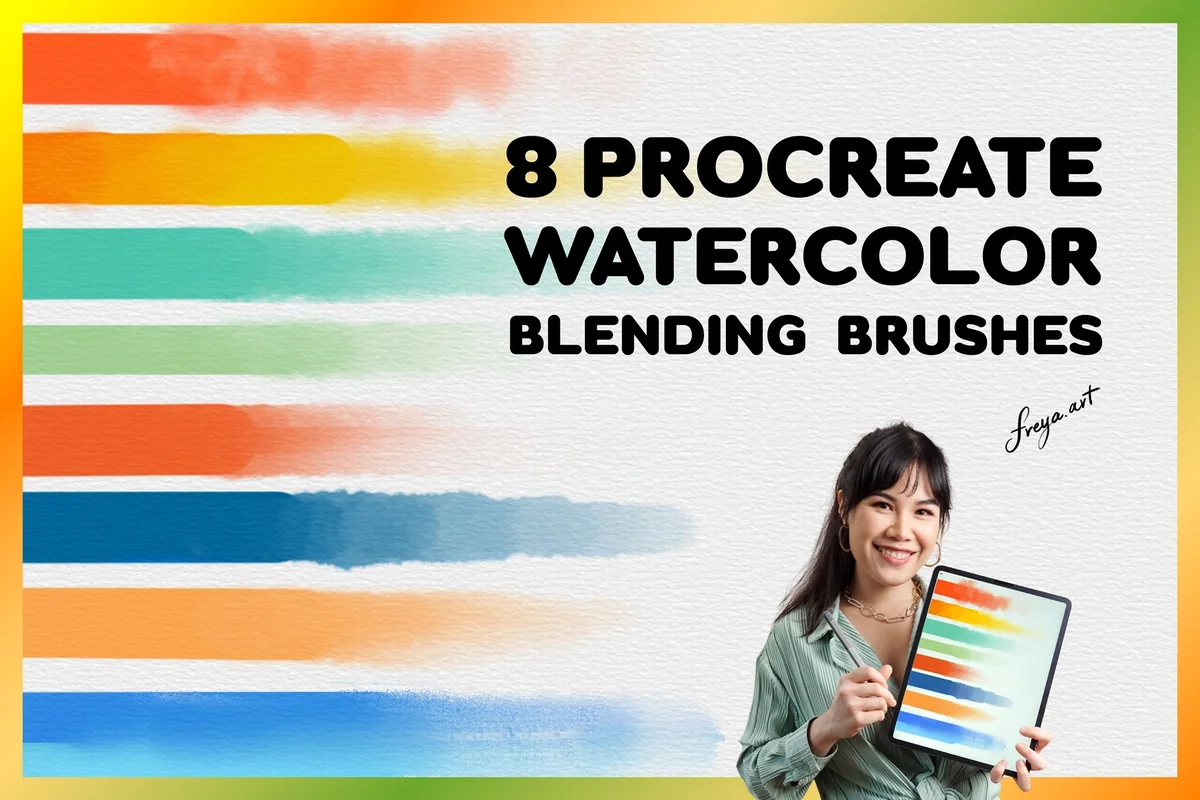
- 8 watercolor blender wash brushes
- 1 bonus paper texture brush
- Numbered gallery sheet shows eight wash-like sample marks
- Seller specifies Procreate for iPad and recommends Apple Pencil
The orange, blue and green swatches show softer boundaries and overlapping wash-like shapes. That gives this pack a different purpose from the oil blenders above, even though both are from FreyaArtProcreate. It is a set of blending tools with a paper extra, not a complete watercolor painting library. I like the small, numbered sample sheet for comparing finishes before choosing a brush.
Quick Comparison
| Brush pack | Blending component | Other contents or finish | Choose it for |
|---|---|---|---|
| 1. Advanced Blenders – Procreate Brushes | 16 dedicated blenders | Smooth, smeary, FX | One set across several finishes |
| 2. Procreate Blending Brushes | 20 blenders | 5 paper + 1 washer | Blending plus surface extras |
| 3. Procreate Blend and Smudge Brushes X 32 | 32 blend/smudge brushes | Mixed soft and rough marks | A larger dedicated library |
| 4. Procreate Simple Blend Brushes | 9 blend brushes | Textured, fingerprint, pencil | A smaller varied collection |
| 5. Fingerprint Smudge Brushes Procreate X 6 | 6 smudge brushes | Finger-like rubbed edges | Sketch-style softening |
| 6. Procreate Skin Blending Brushes | 8 oil blenders | 1 canvas texture | Painterly dragged edges |
| 7. Blending Brush Procreate | 8 wash blenders | 1 paper texture brush | Watercolor-style edge work |
Choose by the edge you want to keep
Different brushes can make the same color boundary look very different. A soft brush suggests a gradual transition; a textured smudge brush can leave more of the original brush strokes visible. Before choosing a blending brush, decide whether your painting brush has already made a useful texture that you want to preserve.
General blending collections
- 1Named families: Advanced Blenders separates smooth, smeary and FX tools. It is the clearest starting point for comparing categories of marks.
- 2Paper extras: EasyProcreate adds separate paper brushes to its 20 blenders. Choose it if surface texture is another gap in your library.
- 3Library size: the 32-brush collection and nine-brush Simple Blend offer larger and smaller mixed selections. Their seller does not state exact overlap; compare them as alternative purchases.
Distinct surface effects
- 1Rubbed sketch: Fingerprint Smudge shows six finger-like sample marks. Its purpose is smudging, rather than stamping fingerprint imagery.
- 2Oil-style pull: Freya’s oil blenders show more painterly shapes. The storefront title includes Skin, but the actual described set is oil blending.
- 3Wash-like boundary: Freya’s watercolor blenders show soft, overlapping color samples. They are blending tools, not a full watercolor painting kit.
You do not need every category. For a first purchase, focus on one repeat problem: a harsh transition, a lost texture or a missing rubbed-sketch finish. A larger set is useful only if you want to compare its different marks, rather than search through them every time you paint.
Smudge, paint or blur: choose the operation first
Procreate has a Smudge tool that moves existing pigment. It shares its brush library with Paint and Erase. The official Procreate handbook explains that lower Smudge opacity produces a subtler effect, while higher strength moves color more forcefully.
- Smudge: choose this when the colors already exist and you want to work along their boundary. A smaller brush makes it easier to focus your attention on one transition.
- Paint: choose the Brush tool when the passage needs another color or a more deliberate shape. Adding an intermediate tone is a different decision from repeatedly dragging the same two colors together.
- Blur: consider this when you intentionally want a uniformly softened passage. Before committing, compare whether that softness suits the image better than a visible painted transition.
For this roundup, the buying question is the character of a controlled blend. It is not a reason to replace every brush you already use. A general painting set may include good blenders, but its other tools only add value if they belong in your workflow too.
A small comparison exercise before a full illustration
I suggest making a separate practice sheet instead of judging a new brush halfway through a finished face. Use the same colors and the same starting marks for each candidate. Keep this sheet as a reference for later brush choices.
One boundary, four decisions
- 1Make a clear starting point. Paint two neighboring color shapes and retain an untouched copy of the boundary for comparison. Choose a simple patch rather than eyelashes, hair or another subject with lots of fine detail. The goal is to see what the blending mark changes.
- 2Compare one short pass. Try the blending brush along a small part of the boundary. Keep another section untouched. Stop and compare the two before repeating the stroke: look at how far the color has moved and whether the original texture still contributes anything useful.
- 3Change one control. Adjust brush size or Smudge opacity, then try a fresh section. Avoid changing several controls at once, because you will not know which decision produced the result. Use a smaller brush when the transition sits close to an edge you want to preserve.
- 4Judge the image at its final size. Step back from the close-up. A blend that looks slightly rough while zoomed in may read clearly at normal viewing size. Keep the version that supports the form, rather than continuing until every visible brush stroke disappears.
Label each practice patch with the brush name and the decision you changed. Notes such as “smaller brush, edge retained” are more useful than “good blender.” If two packs produce the same kind of finish for your work, you may only need one of them.
Procreate blending brush settings: size, strength and the stopping point
Keep the first settings comparison simple. Brush size determines the area you are trying to work on; the Smudge opacity control changes its strength. Some of these listings also mention pressure, tilt or dilution, but they do not all provide the same setup details.
- For a broad soft patch: compare a gentler pass with a stronger one on separate copies. Ask whether the area still has a readable light side and shadow side.
- Near a sharp feature: reduce the area you work on and leave the contour alone. Think of a nose edge, lip corner or seam in a painted object as a boundary to evaluate separately.
- For grain or bristles: choose the sample texture you actually want. Do not select a rough-looking brush and then keep working until none of its character remains.
- When a brush behaves unexpectedly in Paint: revisit the product instructions. Mini Trezò Design specifically flags dilution for some painting uses; do not assume a smudge-oriented brush behaves like a normal color-applying brush.
Keep an untouched copy before experimenting with advanced settings. The Brush Studio reference is the place to look up a control before changing a brush you want to keep. Start with the brush defaults and change one control at a time; these packs cover different finishes.
When a blend looks wrong, change the decision
- The form has become flat: compare it with your starting version. Decide which shadow shape or crisp edge needs to return before doing another blending pass.
- The mark feels too streaky: compare a smoother brush family, or test a gentler pass on a fresh patch. A streak can be a useful painterly effect, but it should be a choice.
- The skin looks too polished: try retaining more original marks. Keep skin-detail marks on a separate layer so a broad blend does not erase them.
- The background looks noisy: assess paper texture separately from blending. A paper brush adds another surface decision; it does not prove that the color transition underneath is working.
- You keep switching packs: return to one small subject and name the missing effect. “A softer cheek shadow” is easier to solve than “more realistic art.”
A brush pack cannot choose the painting’s edges for you. For a portrait, compare one broad transition and one sharp feature side by side. For a wash-style illustration, compare a soft boundary with an intentionally visible edge. That gives the brush a specific job.
Check the files and device requirements before buying
These are Procreate brush products, not pens that install into GoodNotes. Several sellers explicitly specify Procreate for iPad, and some recommend or require Apple Pencil. Check your own app and device against the individual listing; the galleries do not establish compatibility with every iPad model or other Procreate products.
- Count the right things: 20 blenders plus five paper brushes and one washer means 20 blending brushes, not 26. The comparison lists canvas and paper extras separately from the blending component.
- Check the contents description: Advanced Blenders lists .brushset files; check whether your chosen pack arrives in an archive that needs opening first. Do not treat a preview JPG as the actual brush file.
- Keep purchases focused: the Mini Trezò packs are different listings, but exact file overlap is not stated. Compare their intended scope before choosing more than one.
- Read the current seller terms: confirm licensing and app requirements on the product page. I have not treated promotional gallery slides as a current price or an automatic free offer.
FAQ: Choosing and using blending brushes
Where is the Smudge tool in Procreate?
Look for the finger-shaped Smudge icon near Paint and Erase at the top of the interface. Select Smudge, then choose a brush. The tool and the brush are separate choices: a purchased blending pack adds brush options rather than a new button to Procreate.
Do I need a paid brush pack to blend?
No. Procreate lets you use the same brush library with Smudge, Paint and Erase. A paid pack makes sense when its particular sample marks match a finish you want. Start with the tools you have, then buy for a specific missing texture or transition.
Can I blend without using Smudge?
You can work toward a transition by painting intermediate colors, or use a blur adjustment when that suits the image. Those choices solve a different problem from dragging existing color with a textured smudger. Decide which operation you need before buying another pack.
Which of these sets makes sense for skin tones?
For a broad choice of blend finishes, compare Advanced Blenders. Freya’s Skin Blending listing is described and pictured as an oil blender set, so judge it by its oil-style samples.
Are the biggest packs all blending brushes?
No. Dedicated blending packs still differ in mark variety and extra tools. Compare their blend and smudge samples, and distinguish the blender count from any bonus paper or texture brushes.
Should I buy both a smooth and a textured pack?
Only if you have a clear use for both. Advanced Blenders already includes several families, and other sets mix finishes too. Compare a few marks from one collection before deciding whether another pack adds something distinct. Exact overlap between the Mini Trezò collections is not documented.
Leave one edge worth looking at
The best Procreate blending brushes for your artwork are the ones that solve a visible problem without erasing the decisions you like. Start with a dedicated set for a missing transition or a particular edge finish. Make one small comparison sheet, keep the original marks visible, and let the subject decide when the blend is finished.
You May Also Like
This article contains affiliate links. If you buy through them, I may earn a commission at no extra cost to you. Read my affiliate disclosure.