Your tiny heart looks crisp while you draw, then turns soft when you make it large enough for a journal page. Choosing Procreate pixel brushes starts with a question a pretty preview cannot answer by itself: are you placing individual pixels, painting a pixel-style texture, or stamping a finished shape?
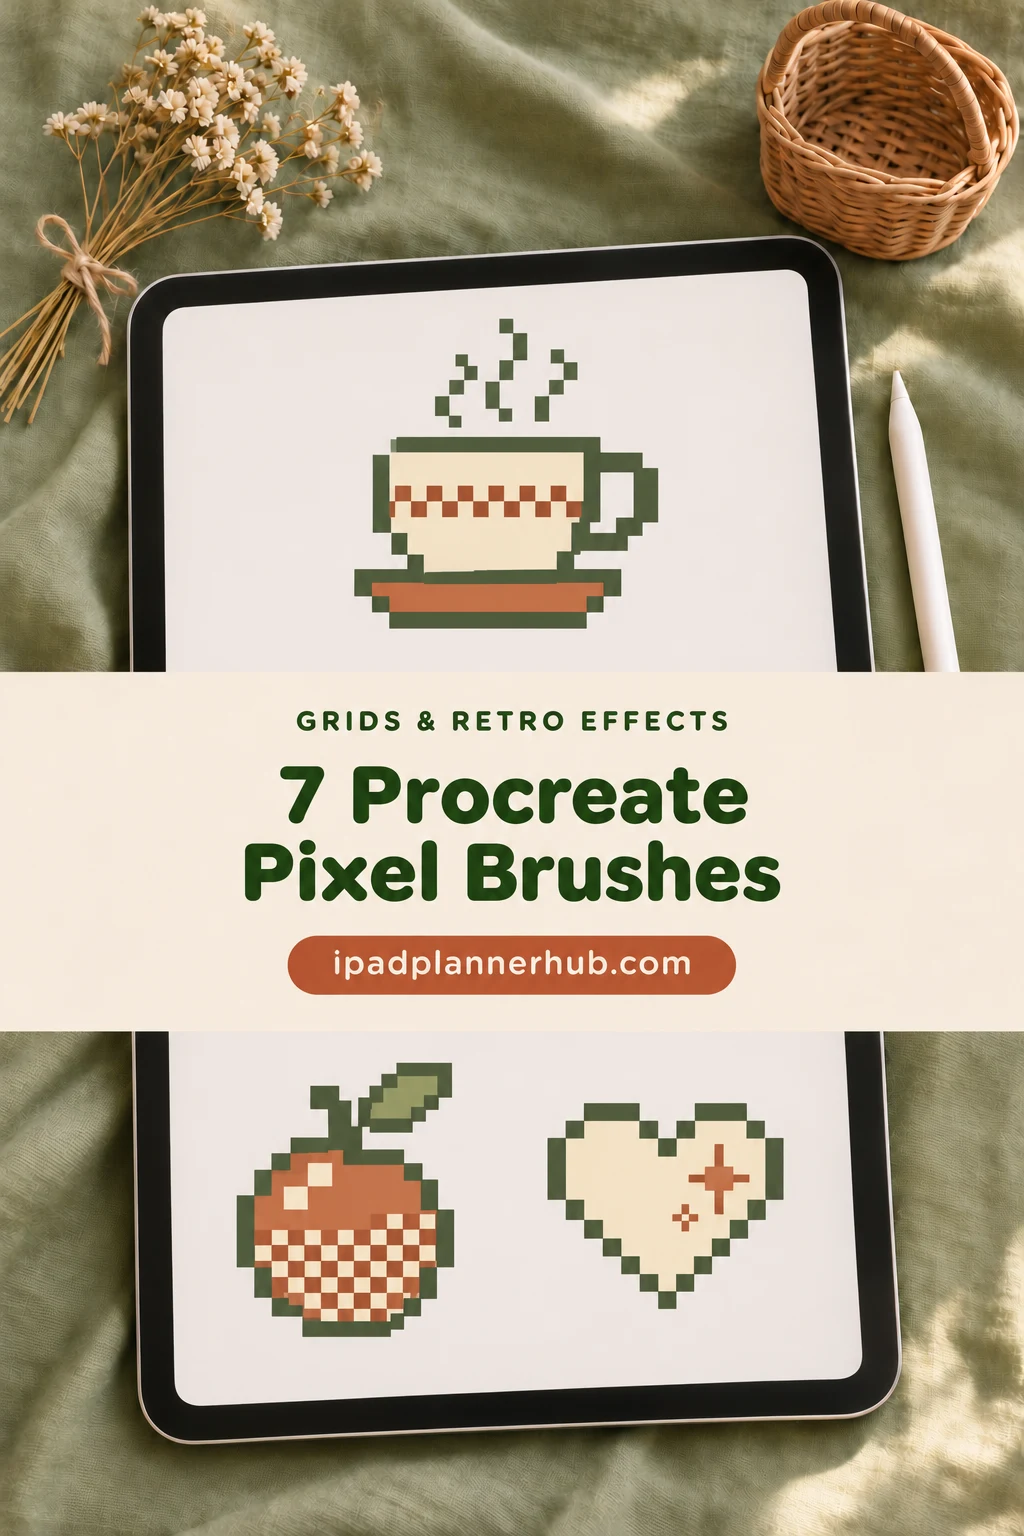
I shortlisted seven options after reviewing their descriptions and public preview galleries. Some help you draw your own marks; others provide shading patterns or ready retro motifs. This comparison does not include hands-on testing of the purchased brush files. The distinctions below matter more than the largest number printed on a cover.
Seven Procreate Pixel Brushes with Different Jobs
The selection keeps small-grid drawing separate from large-canvas effects. Generic seasonal stamps and color palettes alone do not make the cut; the final two packs focus on retro motifs and ready icons.
TL;DR: Seven options for pixel tasks: small-grid drawing, patterned shading, scenic marks, a single illustration brush, dithering textures, retro motifs and Y2K stamps. Stamp packs place ready shapes; they are not all one-pixel drawing pens.
Quick Picks
- Best for small grids: Procreate Pixel Art Brush Set
- Best for patterned shading: 24 Pixel Brush NHD 01
- Best for tiny landscapes: Pixel Art Brush Pack for Procreate
- Best for single-brush option: Procreate Pixel Brush
- Best for dithering textures: Procreate Pixel Art Brushes
- Best for retro scene details: 135 Procreate Pixel Art Brushes
- Procreate Pixel Art Brush Set – Best for small grids
- 24 Pixel Brush NHD 01 – Best for patterned shading
- Pixel Art Brush Pack for Procreate – Best for tiny landscapes
- Procreate Pixel Brush – Best single-brush option
- Procreate Pixel Art Brushes – Best for dithering textures
- 135 Procreate Pixel Art Brushes – Best for retro scene details
- Y2k Pixel Retro Procreate Brush Stamp – Best for ready icons
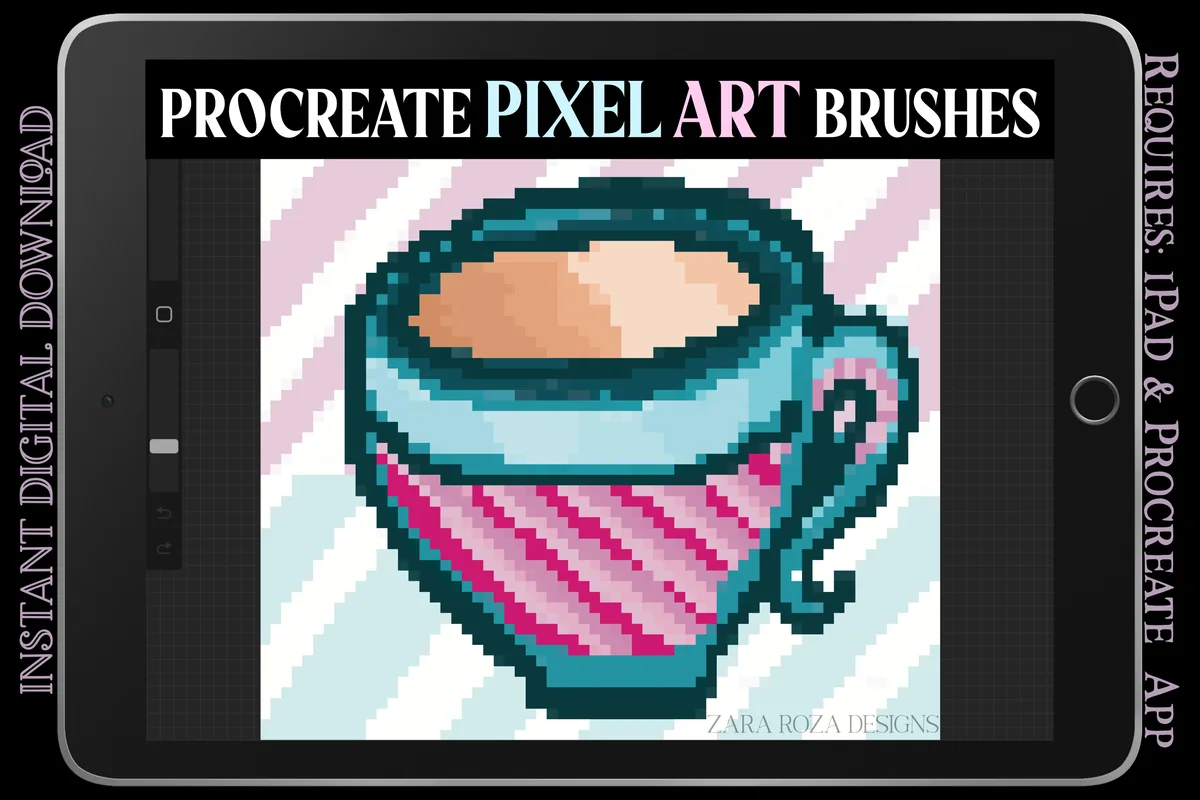
Best for small grids
1. Procreate Pixel Art Brush Set
Best for: small sprite studies and pixel lettering. Designed by ZaraRozaDesigns.
- Two .brushset files: simple pixel brushes and pixel aesthetic brushes
- 10+ aesthetic brushes, including glitch and cluster variations
- Drawing-guide canvases in .procreate format, including 16×16, 32×32 and 64×64 pixels
The simple brushes and small grid canvases make this my starting pick for deliberate pixel placement. The lettering and glitch tools serve a different, larger-canvas look, so you can choose between two workflows within one package. The aesthetic brushes are not a promise of one-pixel accuracy.
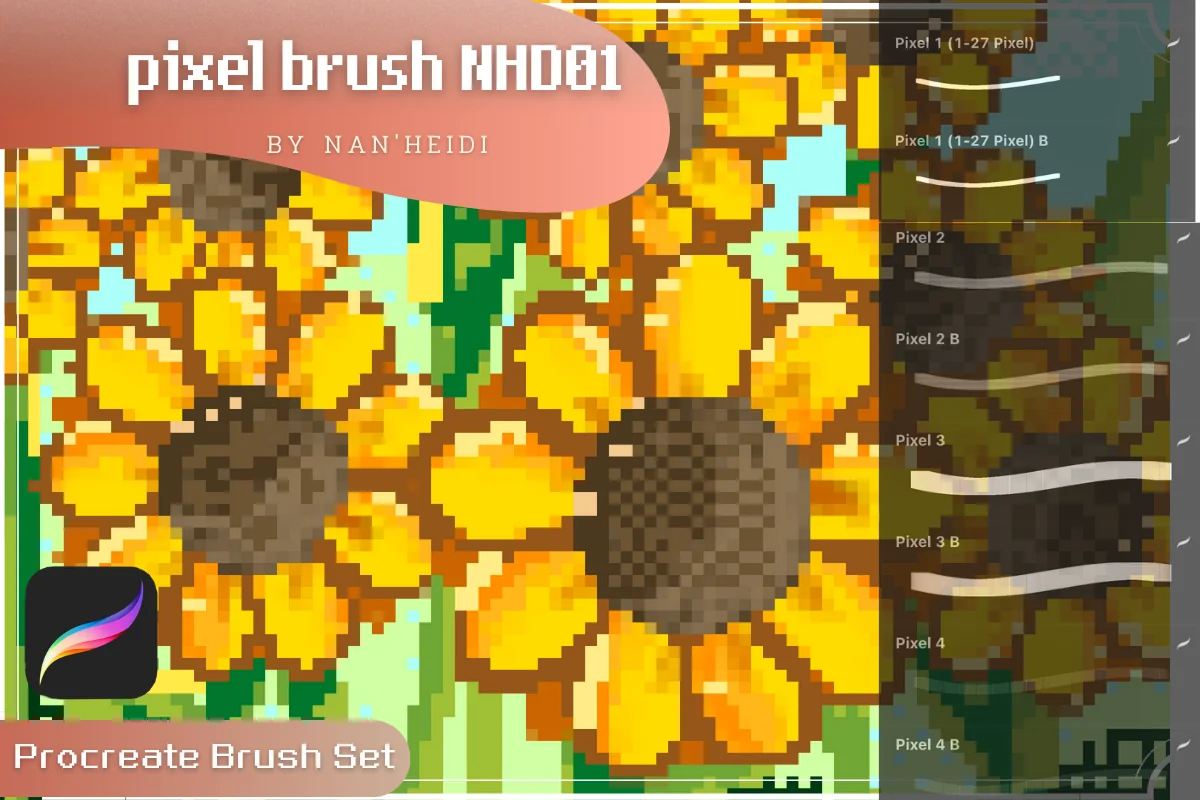
Best for patterned shading
2. 24 Pixel Brush NHD 01
Best for: drawing compact fruit icons with patterned shadows. Designed by panisa7766.
- 24 brush heads for Procreate on iPad
- Previews show solid pixel strokes alongside softer variants
- Pattern sheets show checkerboards, dots and other repeating marks
- Visual guide recommends a small pixel canvas before enlarging the finished image
The fruit studies show outlines, shadows and patterns doing different jobs, making NHD a useful candidate for a food-icon series. Some samples have soft edges; choose a solid stroke for crisp outlines rather than assuming every brush behaves alike.
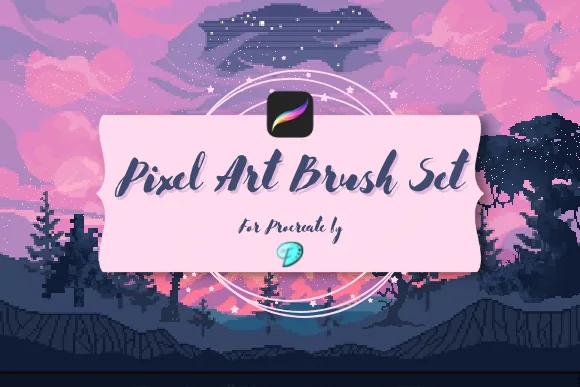
Best for tiny landscapes
3. Pixel Art Brush Pack for Procreate
Best for: building a scene with tree silhouettes and scattered marks. Designed by Emily Designs.
- 26 pixel brushes and 7 pixel stamps
- Previews show simple, fading and thin dotted strokes
- Scatter samples for textured areas
- Tree and moon silhouettes shown on the stamp sheet
A moon, tree silhouettes and scattered texture give a small landscape a clear starting point. The faded strokes also suit atmospheric details. Keep a solid brush for edges that need to stay opaque; this mixed effects pack is not a set of grid-perfect pens.
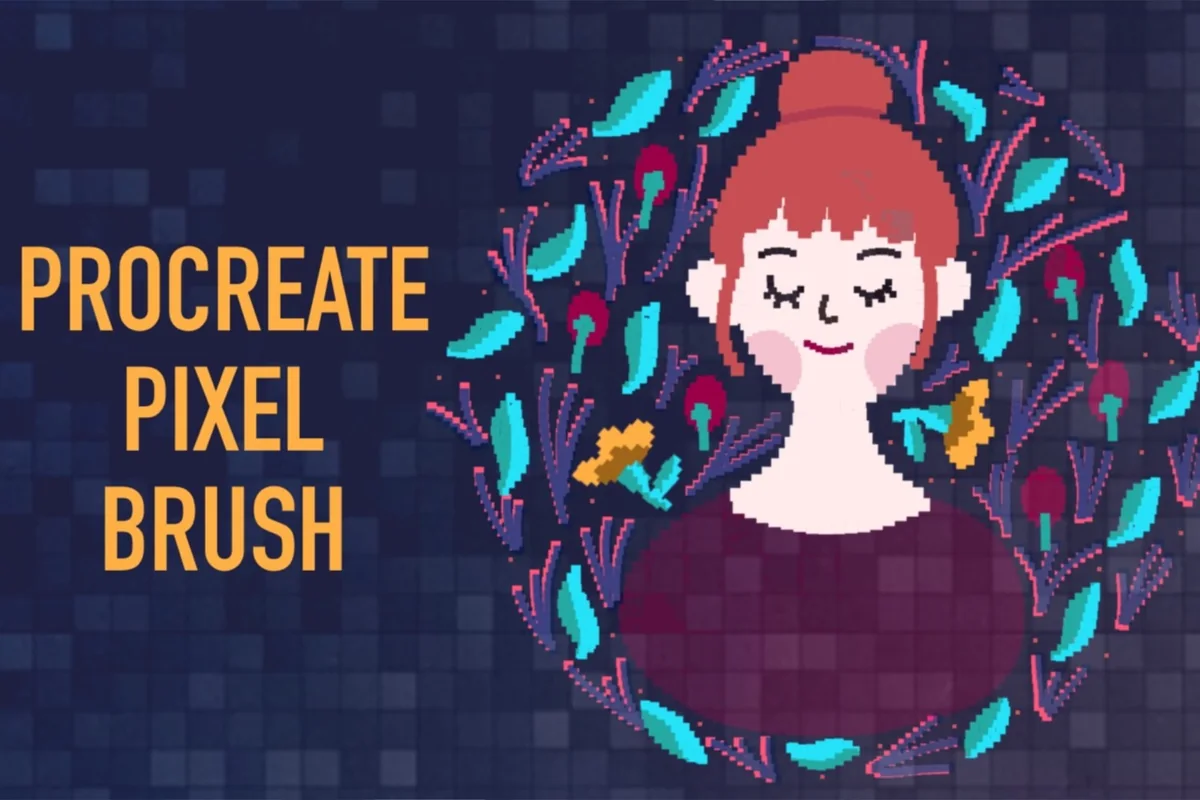
Best single-brush option
4. Procreate Pixel Brush
Best for: giving your own botanical drawing a pixel-style edge. Designed by Zmapist.
- One pixel brush in a ZIP archive
- Designed for importing into Procreate on iPad
- Previews show a portrait, decorative leaves and floral shapes
A single tool keeps the brush menu simple. Zmapist’s examples favor decorative leaves and flowers over tiny game sprites, making this a candidate for a botanical border. Check a short line at your intended canvas size first. No grid canvases or texture collection are listed.
Best for dithering textures
5. Procreate Pixel Art Brushes
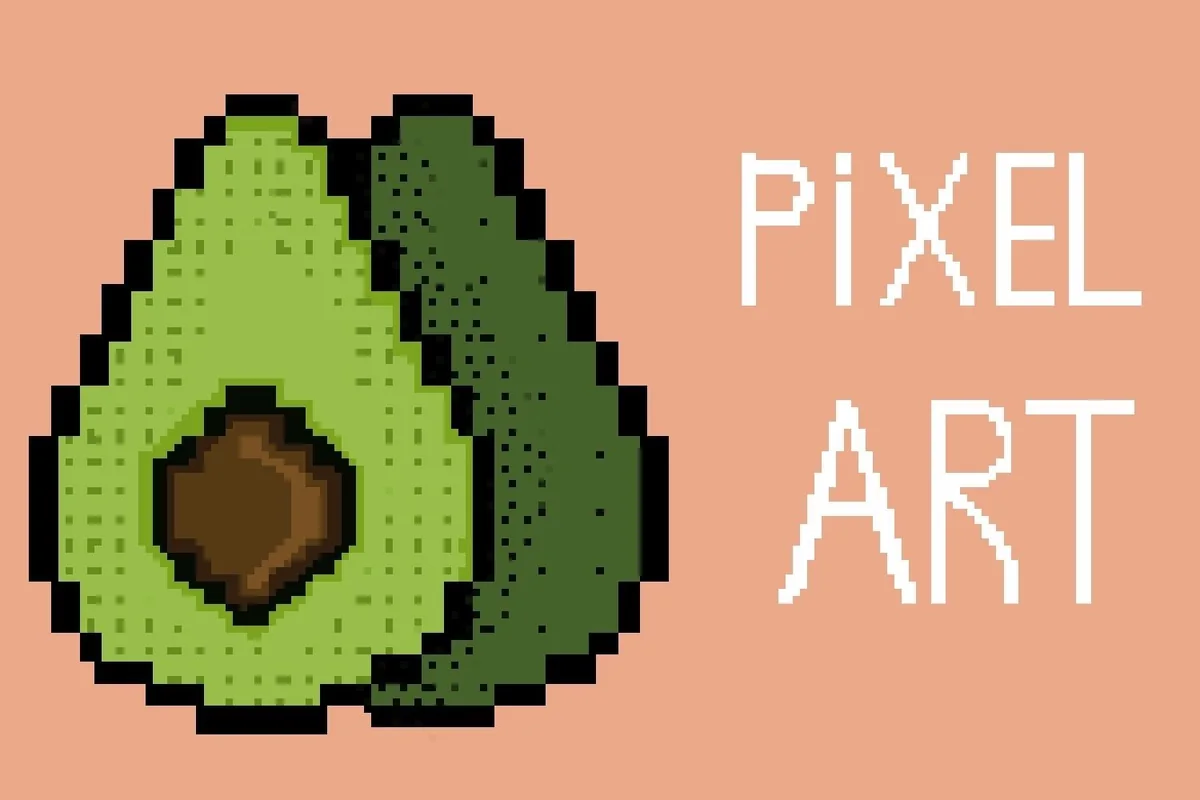
Best for: adding patterned tone to an existing pixel silhouette. Designed by SvgOcean.
- One .brushset file for Procreate on iPad
- Apple Pencil is named in the description
- Previews show checker, dot and scattered square patterns
- Avocado example combines blocky outlines with patterned shading
Dense checker marks and lighter dot fields offer different ways to suggest tone inside an icon. SvgOcean calls these tools stamps; the preview sheets show their repeated-pattern role. Use them for texture, with a separate plain brush for outlines. The total tool count is unstated.
Best for retro scene details
6. 135 Procreate Pixel Art Brushes
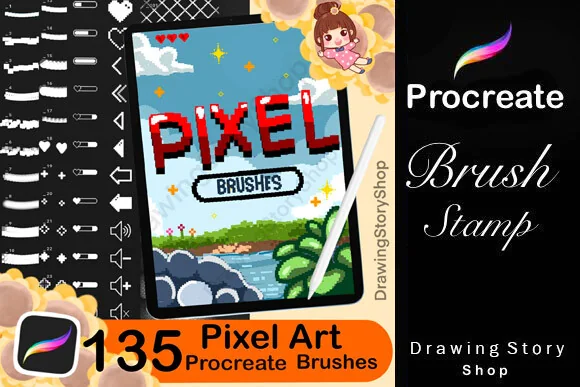
Best for: combining pixel motifs, interface details and background texture. Designed by DrawingStoryShop.
- 135 pixel brushes listed for Procreate on iPad
- PDF import instructions included
- Previews show arrows, hearts, speech bubbles and game-style labels
- Additional sheets show green strokes and tiled surface textures
DrawingStoryShop has the broadest dedicated pixel assortment in this selection. The small interface motifs are especially appealing for a retro journal title or an illustrated progress panel. Many are ready shapes: they save you drawing that motif, but do not replace an outline brush for an original character. The title count covers the whole assortment, not 135 versions of a one-pixel pen.
Best for ready icons
7. Y2k Pixel Retro Procreate Brush Stamp
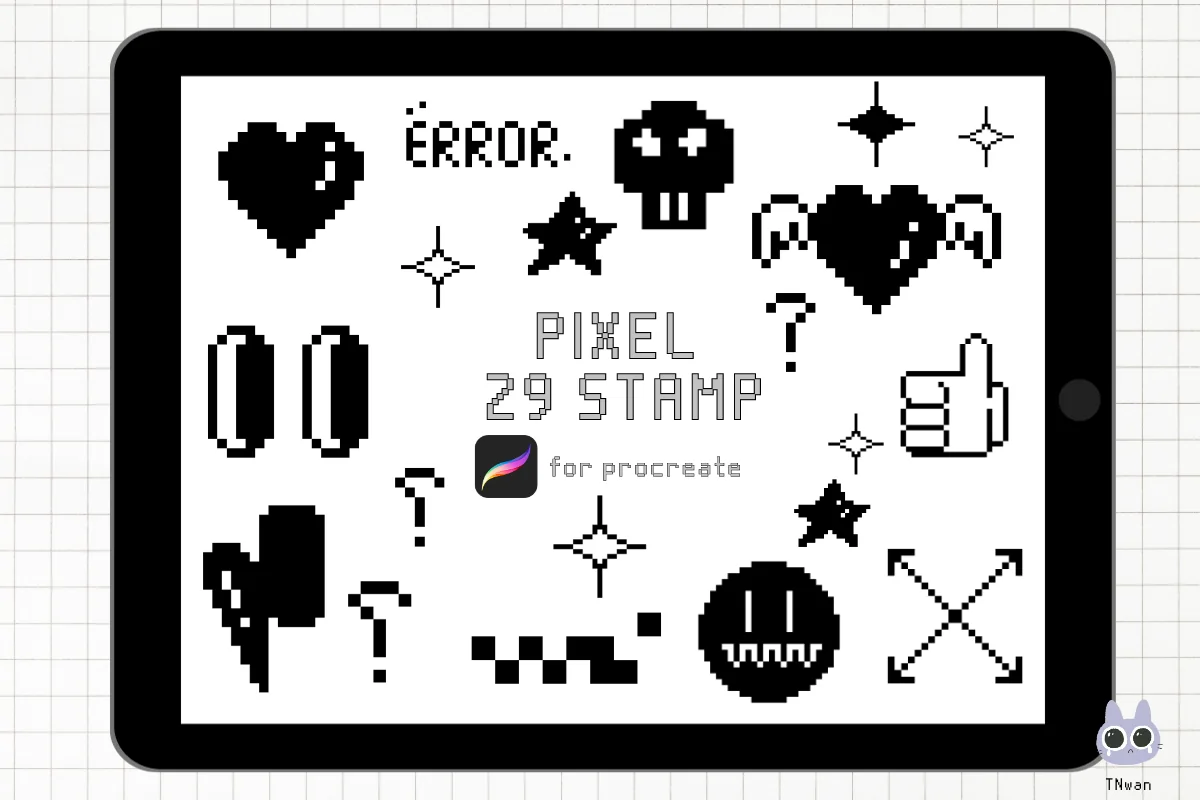
Best for: placing a retro heart, sparkle or reaction icon. Designed by TNwan.
- 29 pixel element stamps in one ZIP archive
- Requires Procreate on iPad
- Previews show hearts, faces, stars, arrows and speech bubbles
Choose a heart, face or sparkle and place it as a ready shape. One reaction icon can carry a retro weekly-page theme without filling the page with texture. For an original sprite drawn stroke by stroke, start with a drawing set instead.
Quick Comparison
| Brush pack | Role | Contents | Distinction |
|---|---|---|---|
| 1. Procreate Pixel Art Brush Set | Drawing + effects | 2 brushset files and grid canvases | Small grids and glitch lettering |
| 2. 24 Pixel Brush NHD 01 | Drawing + patterns | 24 brush heads | Solid and softer stroke samples |
| 3. Pixel Art Brush Pack for Procreate | Drawing + scenery | 26 brushes + 7 stamps | Trees, moons and scatter effects |
| 4. Procreate Pixel Brush | Single drawing brush | 1 brush in a ZIP archive | Botanical illustration examples |
| 5. Procreate Pixel Art Brushes | Pattern textures | 1 brushset file; count unstated | Dense and sparse dithering samples |
| 6. 135 Procreate Pixel Art Brushes | Motifs + textures | 135 pixel brushes and PDF guide | Interface symbols and surface patterns |
| 7. Y2k Pixel Retro Procreate Brush Stamp | Decorative stamps | 29 element stamps | Hearts, reactions and sparkles |
Pick the Kind of Pixel Work Before the Pack
A blocky edge can belong to very different tools. A square drawing brush puts down marks as you move the Pencil. A dithering brush repeats a pattern. A stamp places an existing icon. Knowing which action your project needs makes the comparison much easier.
Draw an original shape
- Small-grid studies: ZaraRozaDesigns pairs simple brushes with included grid canvases. That is the clearest starting point here for a deliberately tiny design.
- Outlined icons with patterns: NHD shows both strokes and repeating texture, useful when a drawing needs a solid edge and a different treatment inside it.
- Scenery and decorative illustration: Emily Designs adds landscape silhouettes and scatter effects; Zmapist keeps the choice down to one illustration brush.
Shade or texture a shape you already have
SvgOcean is the most focused pattern choice in this list. DrawingStoryShop combines texture with a much larger collection of motifs. Neither needs to be treated as a replacement for the plain brush you use to build an outline.
- Use a repeated checker or dot field when you want visible texture within a color area.
- Keep the silhouette readable before adding a dense pattern. A small icon can lose its shape when every region competes for attention.
- Compare pattern spacing at the final viewing size, not only while zoomed in. A subtle texture at one size can dominate a tiny sticker.
Place a finished retro detail
TNwan provides ready Y2K elements, while DrawingStoryShop has a wider mix that includes interface-style motifs. These make sense for a title corner or reaction marker. They do not teach the app to draw your own character, and a stamp count is not the same thing as a drawing-brush count.
One Pixel on the Grid Is Different from a Pixel Look
ZaraRozaDesigns explicitly separates simple pixel brushes from aesthetic brushes for larger canvases. Its included small canvases include one-pixel drawing guides. That is a more specific claim than a general illustration preview with stepped edges.
- Grid-based art: decide the pixel dimensions of the image first, then judge marks against that grid. A guide helps you see placement; do not assume the presence of a guide guarantees every stroke lands perfectly.
- Pixel-style illustration: use blocky, broken or glitchy marks as part of a larger image. Soft or fading variants can be intentional here.
- Retro decoration: place a motif and adjust the composition around it. The finished silhouette may matter more than whether you drew it pixel by pixel.
No pack here guarantees pixel-perfect results at every brush size. Public previews show appearance, not a controlled test of diagonals, pressure response or every canvas resolution. If a sprite needs exact edges, inspect those edges yourself after importing the file.
A Small-Canvas Check Before a Detailed Drawing
The NHD preview guide recommends drawing on a small pixel canvas before enlarging the image. Zara includes several small grid sizes. Use those as practical starting options rather than a rule that every project must share one resolution.
Make a short edge test
- 1Choose the purpose and canvas. Decide whether this is a tiny icon, a repeating tile or a larger decorative illustration. Start from an included grid canvas when the package includes one. Keep the untouched canvas as a template and work on a copy so your next comparison uses the same starting dimensions.
- 2Draw a few diagnostic marks. Make a horizontal line, a diagonal and a small curve with the plainest brush in the set. Add one filled shape. Compare the edges while zoomed in, then return to the size at which someone will actually see the image. Use the same marks for each brush so the comparison stays useful.
- 3Try texture separately. Put a pattern or stamp on its own layer and compare it with the outline. Keep a plain version beside it. You can then decide whether the checker pattern supports the form or merely makes it busy, without rebuilding your original drawing.
- 4Inspect a larger copy. Preserve the small original before enlarging anything. Check both the transformed art and a saved image at the intended display size. If one edge looks wrong, return to the original instead of repeatedly resizing the same working layer.
For an example project, choose a single leaf or a cup silhouette before attempting a complete scene. The point is to expose the brush behavior early. A miniature test with one curve and one shaded region answers more than filling an entire page with a brush you have not yet inspected.
Procreate Pixel Brush Settings: Pressure and Soft Edges
A fading stroke in a preview is not necessarily a broken pixel brush. Emily Designs labels a fading variant, and NHD shows softer strokes beside solid ones. First check which tool you selected before changing the entire brush setup.
- A faint edge: compare a solid variant with a fading or textured one. Keep opacity and Pencil pressure consistent while comparing, so several changes do not obscure the cause.
- A changing width: inspect the brush response at your intended size. Compare a short line under steady pressure before relying on a fixed-width outline.
- A broken-looking diagonal: zoom in and inspect individual marks before deciding whether the result is acceptable for your project. A decorative stroke can tolerate a different edge than a small game asset.
- A soft enlarged image: inspect the transform method as well as the original mark. Resizing introduces a separate decision from brush selection.
Procreate’s interpolation guide explains how the app calculates pixels during a transform. Nearest Neighbor takes the nearest pixel’s information and can preserve hard, block-like edges; bilinear and bicubic methods make different smoothing tradeoffs. It cannot repair a source stroke that already has translucent edges.
For brush setup, the Envato Tuts+ pixel-brush tutorial walks through a square shape source and spacing controls. Work on a duplicate brush when exploring those controls. Its particular slider recipe is not a universal setting for every pack in this comparison.
Import the Brush Files, Then Keep the Canvas Separate
A ZIP archive is the outer package, not the brush itself. Check the extracted contents before trying to import everything as a brush. Zara’s set is a useful example: the .brushset files belong in the brush library, while the .procreate files are canvas documents.
Keep each file type in its place
- 1Open the received archive in Files. Extract the outer ZIP when the seller supplies one, then read any included guide. Keep an original copy of the package in a named folder so a later brush edit does not become your only copy of the tool.
- 2Import the brush file. Procreate’s official instructions support importing .brush and .brushset files from Files. Tap the relevant file to open it in Procreate. If the app does not recognize what you selected, recheck the extension instead of renaming a random document to make it look like a brush.
- 3Open canvas documents separately. An included .procreate grid is a drawing document. Open it, duplicate it for your project, and then select a brush from the imported set. Seeing a new canvas without a new brush, or a new brush without a canvas, does not by itself mean the package is incomplete.
The Procreate import and sharing guide is the reference for current import behavior. The seller’s PDF can explain its particular package. Avoid treating older interface screenshots as a reason to force a file into the wrong part of the app.
Give the Art a Job on Your Journal Page
Pixel art does not need to cover the whole page to establish a theme. Start with one recurring visual role, then choose the brush category that serves it. These are project suggestions, not extra templates included with the products.
- A weekly reaction: use one TNwan heart or face beside a reflection note. Keep the same approximate size across the spread so it reads as a recurring marker.
- A tiny food series: draw your own fruit shapes with NHD and compare a plain shadow with a patterned one. The fruit previews are examples of the look, not a promise of finished fruit stickers.
- A landscape header: combine Emily’s shown tree and moon silhouettes with your own drawing. Leave open space around the heading so the scene does not compete with the date.
- A retro progress panel: use a DrawingStoryShop interface-style motif as decoration around your own progress information. A picture of a button remains artwork, not an interactive control.
If you are still deciding the colors, the Procreate color palette comparison is the closest companion to this project. For a page that needs continuous smooth borders instead of stepped marks, look at the lineart brush selection. They solve different visual problems; neither substitutes for testing your pixel edges.
FAQ: Pixel Drawing on iPad
Which pack is the best starting point for a tiny grid?
ZaraRozaDesigns is my first shortlist choice because its description separates simple brushes from larger-canvas aesthetic effects and includes small grid canvases. That makes the intended workflow clearer. It does not establish that every brush is pixel-perfect under every setting.
Can I use a stamp to draw my own sprite?
A stamp places a ready shape. You can use that shape in a composition, but you need a drawing brush to create an original outline stroke by stroke. Choose a drawing-focused option if designing your own character is the main task.
Why does a pixel brush look soft?
Check whether you selected a fading or textured variant, then inspect your original mark and the resizing method separately. Some softness is an intended effect. Changing interpolation will not turn an already translucent stroke into an opaque one.
Are all 135 tools in the largest pack plain drawing brushes?
No. DrawingStoryShop states 135 pixel brushes for its dedicated assortment, and its previews include ready motifs and surface textures. That total covers different roles, not 135 versions of a plain drawing pen.
Are these brushes compatible with GoodNotes?
The brush tools in this selection are for Procreate on iPad. They do not become GoodNotes pens. If your goal is a journal decoration, prepare finished artwork separately and check the receiving app’s supported image workflow.
Are these standalone free brush packs?
No. These seven products are paid brush or stamp packs, rather than standalone free brush packs. Check the current terms on each product page.
Start with One Mark You Can Judge
For Procreate pixel brushes, my first decision is the mark: a plain edge, a repeating texture or a ready icon. Choose the matching role, preserve the original canvas and inspect a small example before building a page around it. If your project needs several illustration styles beyond pixel work, the planner-art brush selection gives that wider context.
You May Also Like
Purchases made using the affiliate links on this page can support my work with a commission. Your price stays the same. Details are in my affiliate disclosure.